How to expand the fonts in WordPress
With WordPress you can create your own blog relatively comfortably and quickly. And even more so, the popular open source software has evolved into a solid content management system (CMS) in recent years that is finding more and more followers.
But of course, with the proliferation, the demands of users on such software grow.
The number of available fonts, and above all their customization options are a bit meager in our view, and so surely some people here wish for a little more choice.
The solution is as usual in WordPress in the appropriate plugin.

1. Install Easy Google fonts
1. Install Easy Google fonts
First we install the plugin Easy Google Fonts.
You can do this either in our description via the interface in WordPress, or you can download the plugin separately here and then install it externally.
Go to the backend of your page in the left menu bar to the point: Plugins – Install
See picture: (click to enlarge)
Here you have the option of either uploading plugins that can not be found via the search directly from your hard disk, or simply using the search function to simply search for the plugin.
Simply enter: Easy Google Fonts in the search field, and the desired plug-in will appear in the selection, where you can then simply install it via the corresponding button and finally activate it.
See picture: (click to enlarge)
First we install the plugin Easy Google Fonts.
You can do this either in our description via the interface in WordPress, or you can download the plugin separately here and then install it externally.
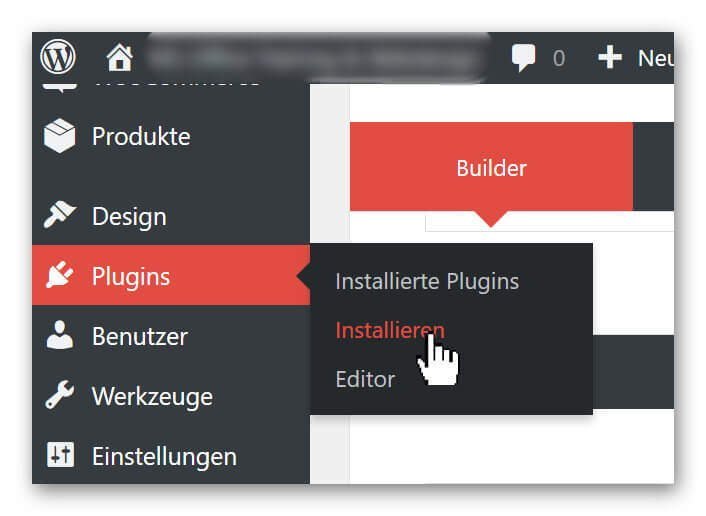
Go to the backend of your page in the left menu bar to the point: Plugins – Install
See picture:
Here you have the option of either uploading plugins that can not be found via the search directly from your hard disk, or simply using the search function to simply search for the plugin.
Simply enter: Easy Google Fonts in the search field, and the desired plug-in will appear in the selection, where you can then simply install it via the corresponding button and finally activate it.
See picture:

2. Set Font Control Name
2. Set Font Control Name
Since you have the possibility to create several font groups with Easy Google fonts, we first have to define a group and name it after the installation.
To do this, go to the back of your page again in the menu bar on the left: Settings – Google Fonts
See picture: (click to enlarge)
And assign a name under the tab: Edit Font Controls of the font group.
See picture: (click to enlarge)
Now we have created the basis to edit our font group freely.
Since you have the possibility to create several font groups with Easy Google fonts, we first have to define a group and name it after the installation.
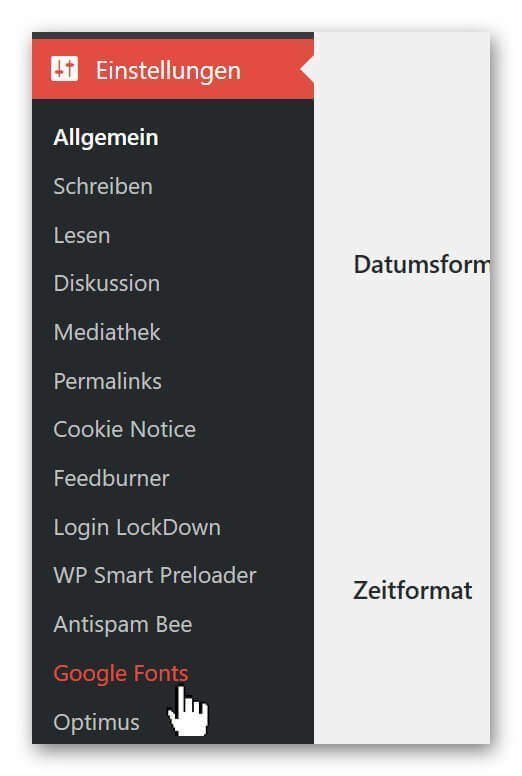
To do this, go to the back of your page again in the menu bar on the left: Settings – Google Fonts
See picture:
And assign a name under the tab: Edit Font Controls of the font group.
See picture:

3. Edit and assign fonts
3. Edit and assign fonts
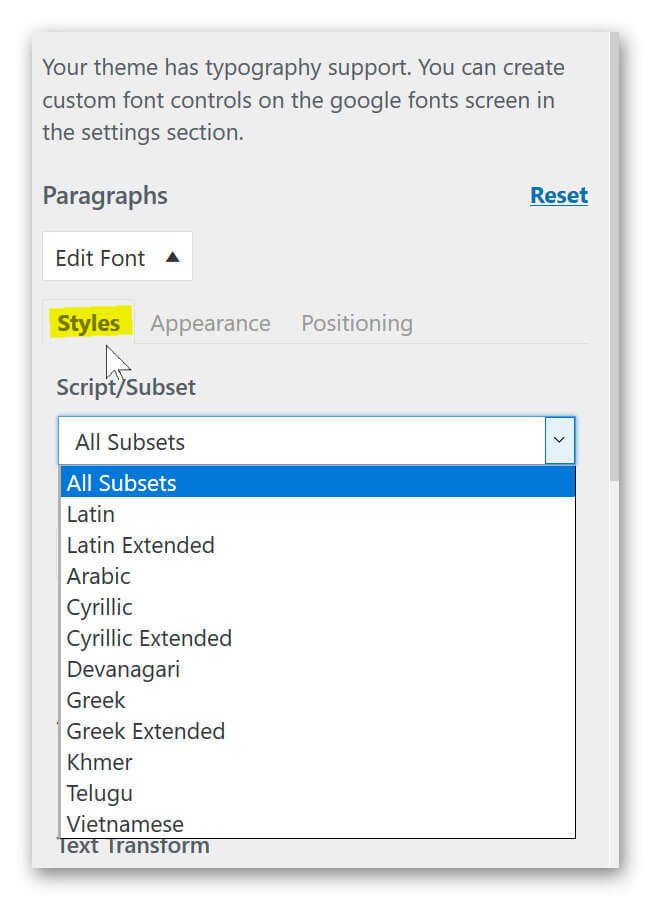
In order to be able to assign and edit our fonts to the individual types of headings (H1 – H6) as well as to the paragraphs, we have to select again in the backend of our page in the left menu bar under: Design – Customizer.
See picture: (click to enlarge)
There you go under: Typography on Default Typography
See picture (click to enlarge)
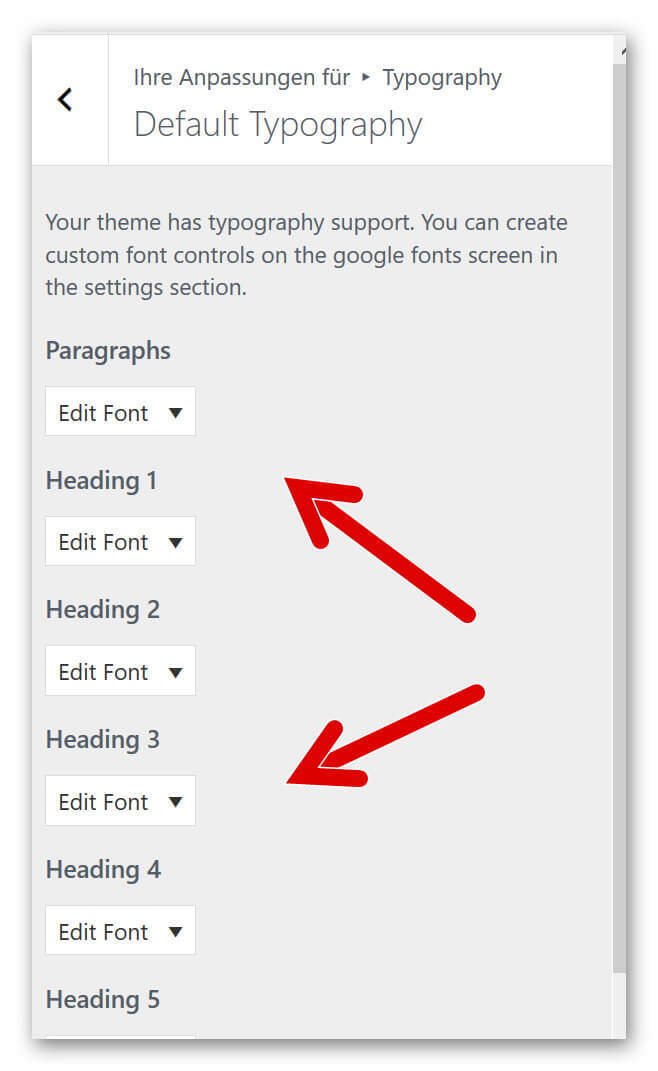
and then you are right in the settings area of Easy Google Fonts where all available header types and other fonts are displayed.
See picture (click to enlarge)
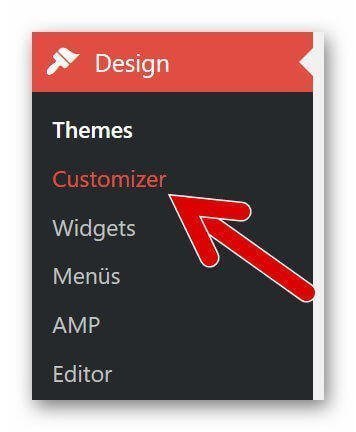
In order to be able to assign and edit our fonts to the individual types of headings (H1 – H6) as well as to the paragraphs, we have to select again in the backend of our page in the left menu bar under: Design – Customizer.
See picture:
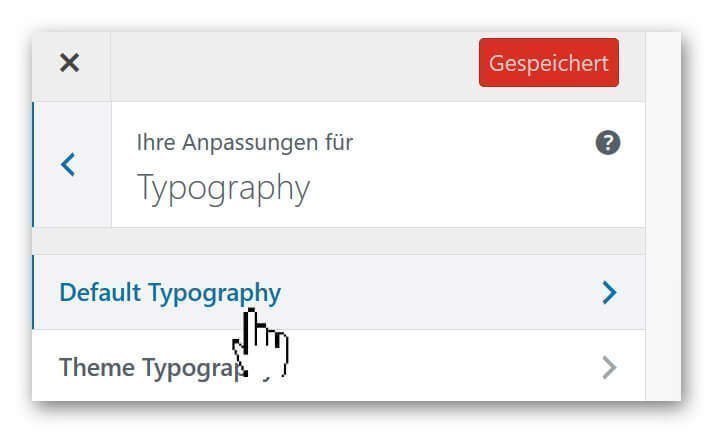
There you go under: Typography on Default Typography
See picture:

and then you are right in the settings area of Easy Google Fonts where all available header types and other fonts are displayed.
See picture:
4. Adjust size, colors and distances
4. Adjust size, colors and distances
There are hardly any options that you will miss with this really fantastic plugin.
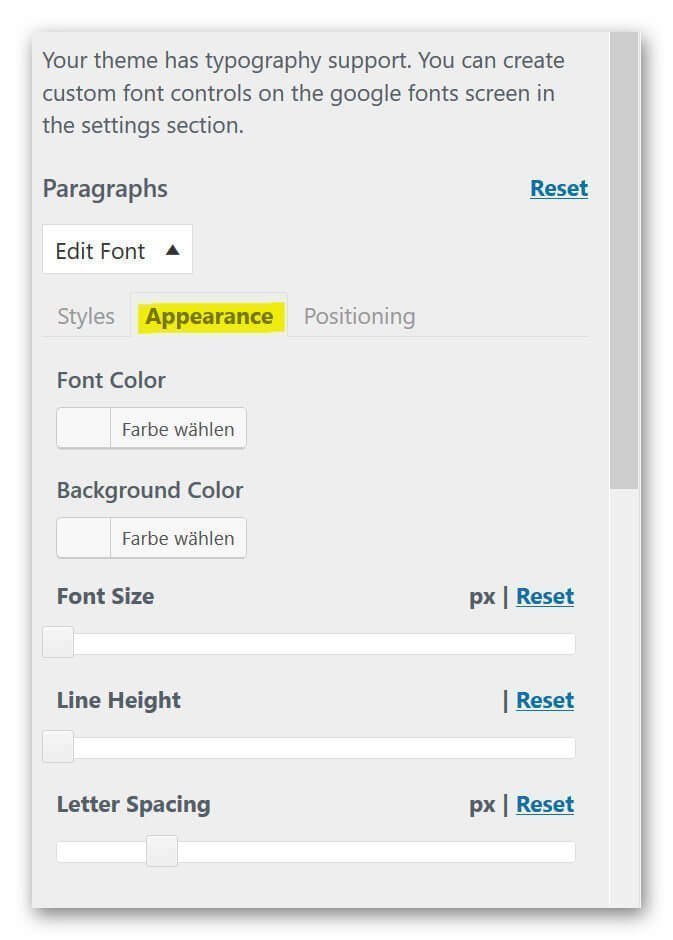
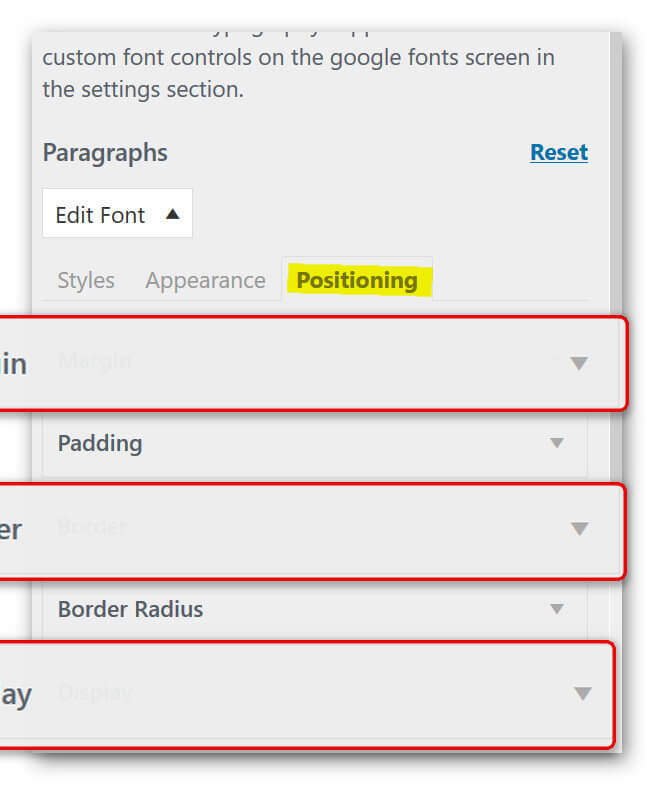
Not only do we have the ability to customize the font (for example, Times New Roman, Antic Slab, etc.), but we can also set the color, spacing, height, positioning, and more for each type of font.
See picture: (click to enlarge)
Popular Posts:
5 simple security rules against phishing and spam that everyone should know
Deceptively authentic emails from your bank, DHL, or PayPal? That's phishing! Data theft and viruses are a daily threat. We'll show you 5 simple rules (2FA, password managers, etc.) to protect yourself immediately and effectively and help you spot scammers.
The 5 best tips for a clean folder structure on your PC and in the cloud
Say goodbye to file chaos! "Offer_final_v2.docx" is a thing of the past. Learn 5 simple tips for a perfect folder structure on your PC and in the cloud (OneDrive). With proper file naming and archive rules, you'll find everything instantly.
Never do the same thing again: How to record a macro in Excel
Tired of repetitive tasks in Excel? Learn how to create your first personal "magic button" with the macro recorder. Automate formatting and save hours – no programming required! Click here for easy instructions.
IMAP vs. Local Folders: The secret to your Outlook structure and why it matters
Do you know the difference between IMAP and local folders in Outlook? Incorrect use can lead to data loss! We'll explain simply what belongs where, how to clean up your mailbox, and how to archive emails securely and for the long term.
Der ultimative Effizienz-Boost: Wie Excel, Word und Outlook für Sie zusammenarbeiten
Schluss mit manuellem Kopieren! Lernen Sie, wie Sie Excel-Listen, Word-Vorlagen & Outlook verbinden, um personalisierte Serien-E-Mails automatisch zu versenden. Sparen Sie Zeit, vermeiden Sie Fehler und steigern Sie Ihre Effizienz. Hier geht's zur einfachen Anleitung!
Agentic AI: The next quantum leap in artificial intelligence?
Forget simple chatbots! Agentic AI is here: Autonomous AI that plans, learns, and solves complex tasks for you. Discover how AI agents will revolutionize the world of work and your everyday life. Are you ready for the future of artificial intelligence?

