Book a Room in Outlook – Resources and Participants
If you work in a company where there are several teams but only a limited number of rooms for team meetings, planning the available resources is important. So if you want to invite your team to a team meeting in a specific room via Outlook on a fixed date, you should consider that this appointment may overlap with other teams in the room. This can cause embarrassing situations when your troops are standing in front of the room but cannot get in because the room is occupied.
In order to avoid something like this, we want to look at how you can invite participants to a team meeting and how you can also book rooms as resources in Outlook at the same time. This makes the whole thing much clearer and easier to plan for other teams in the company.
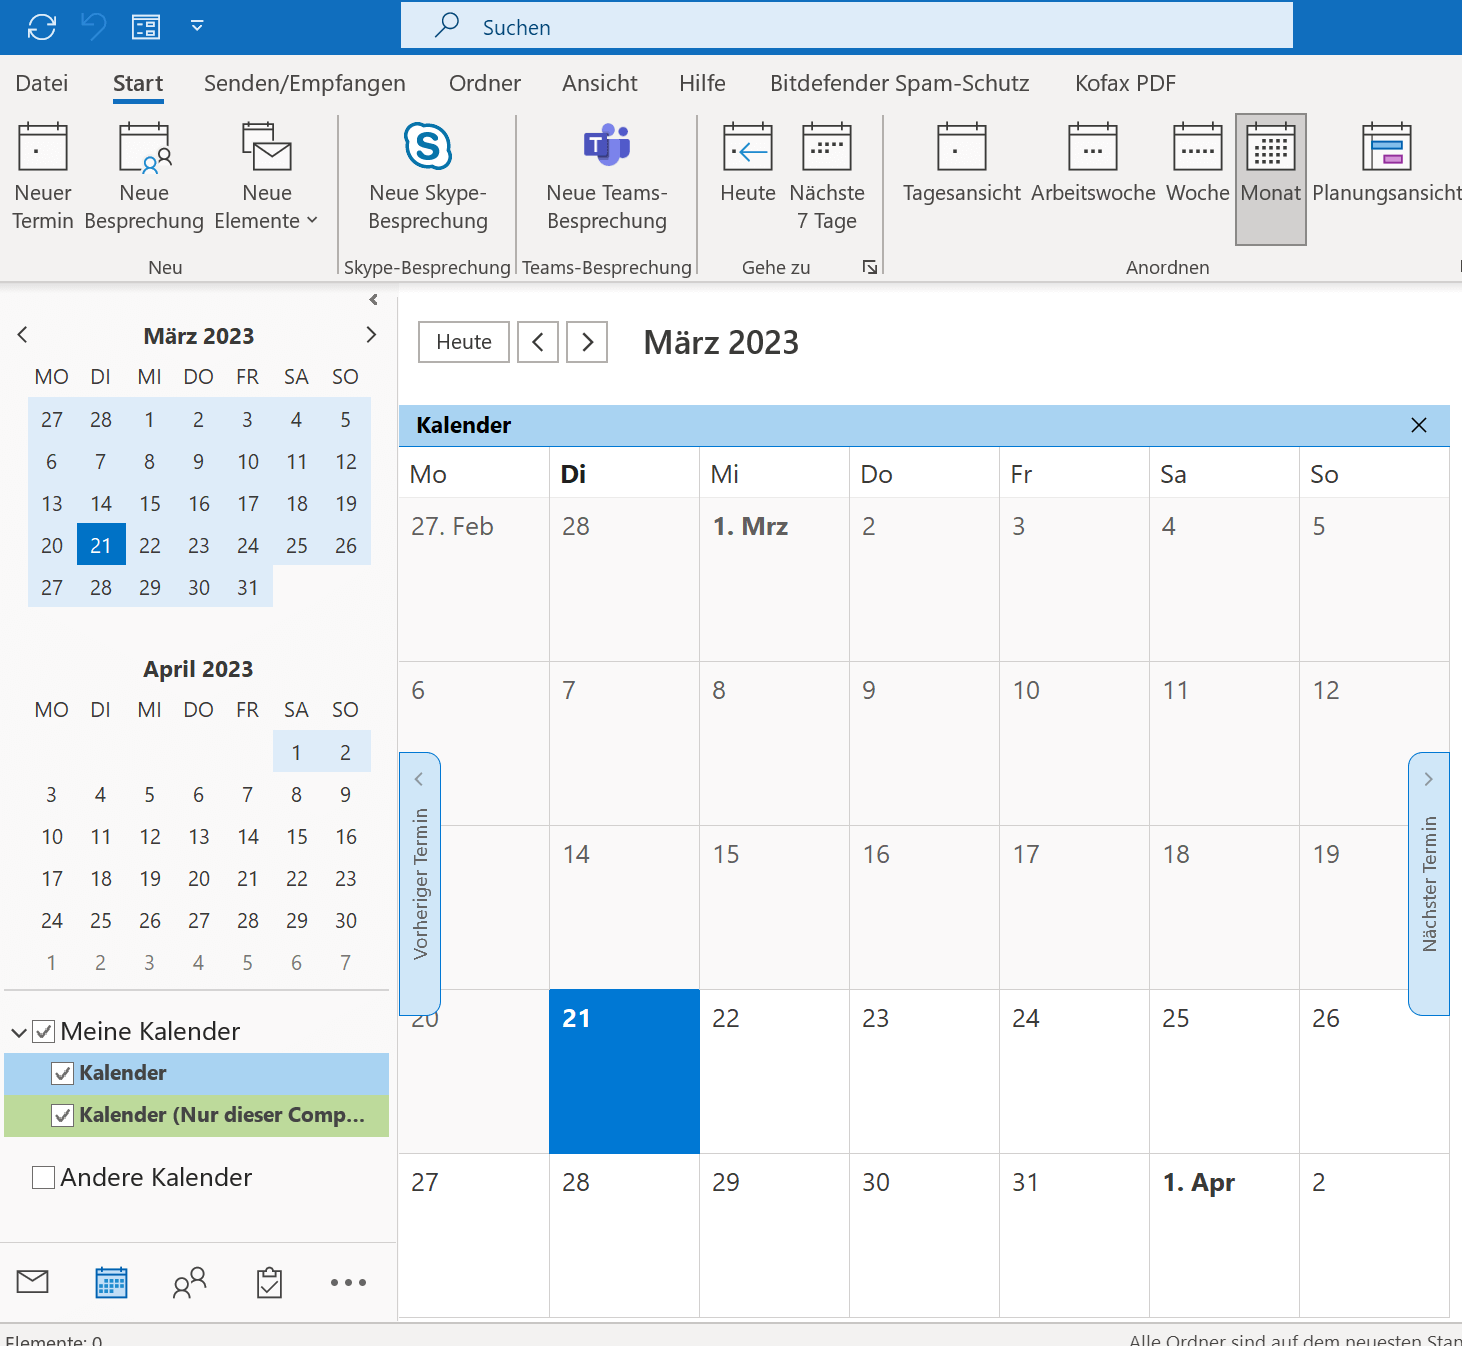
Create room in Outlook
Create room in Outlook
Before you can book a room as a resource in Outlook, Outlook must of course first know that this room exists and that it should be managed in addition to the regular e-mail addresses. To implement this, proceed as follows:
- Open Outlook and click on the “Calendar” menu.
- Click “Start a new meeting” to create a new meeting.
- In the Meeting Options section, click Resources.
- Click on “Rooms” and then on “Add Room“.
- Enter a name for the new room and click “OK“.
- If necessary, enter additional information about the new room, such as the maximum number of participants, the equipment available, etc.
- Click “Save” to create the new room.
Important: Please note that creating rooms in Outlook can normally only be carried out by people with administrator rights on the Exchange server (required). If you do not have administrator rights in your company, please contact your IT support for assistance in creating a new room.
Book rooms and resources in Outlook
Book rooms and resources in Outlook
If the available rooms have been entered into the Outlook Exchange server in your company, the persons authorized by the administrator can now book a room as a resource relatively easily. To do this, proceed as follows:
- Open Outlook and go to your calendar.
- Click the “New Appointment” or “New Meeting” button to create a new appointment.
- In the Subject field, enter the name of the meeting or appointment.
- Click on the “Location” field or go to “Room Search” and select the desired “Room“.
- Select the start date and time for your appointment.
- Select the end date and time for your appointment.
- If necessary, enter a description for the meeting or appointment.
- Then add the “necessary” and, if necessary, “optional” participants for the meeting.
- Click “Send” to complete your booking request.
see fig. (click to enlarge)
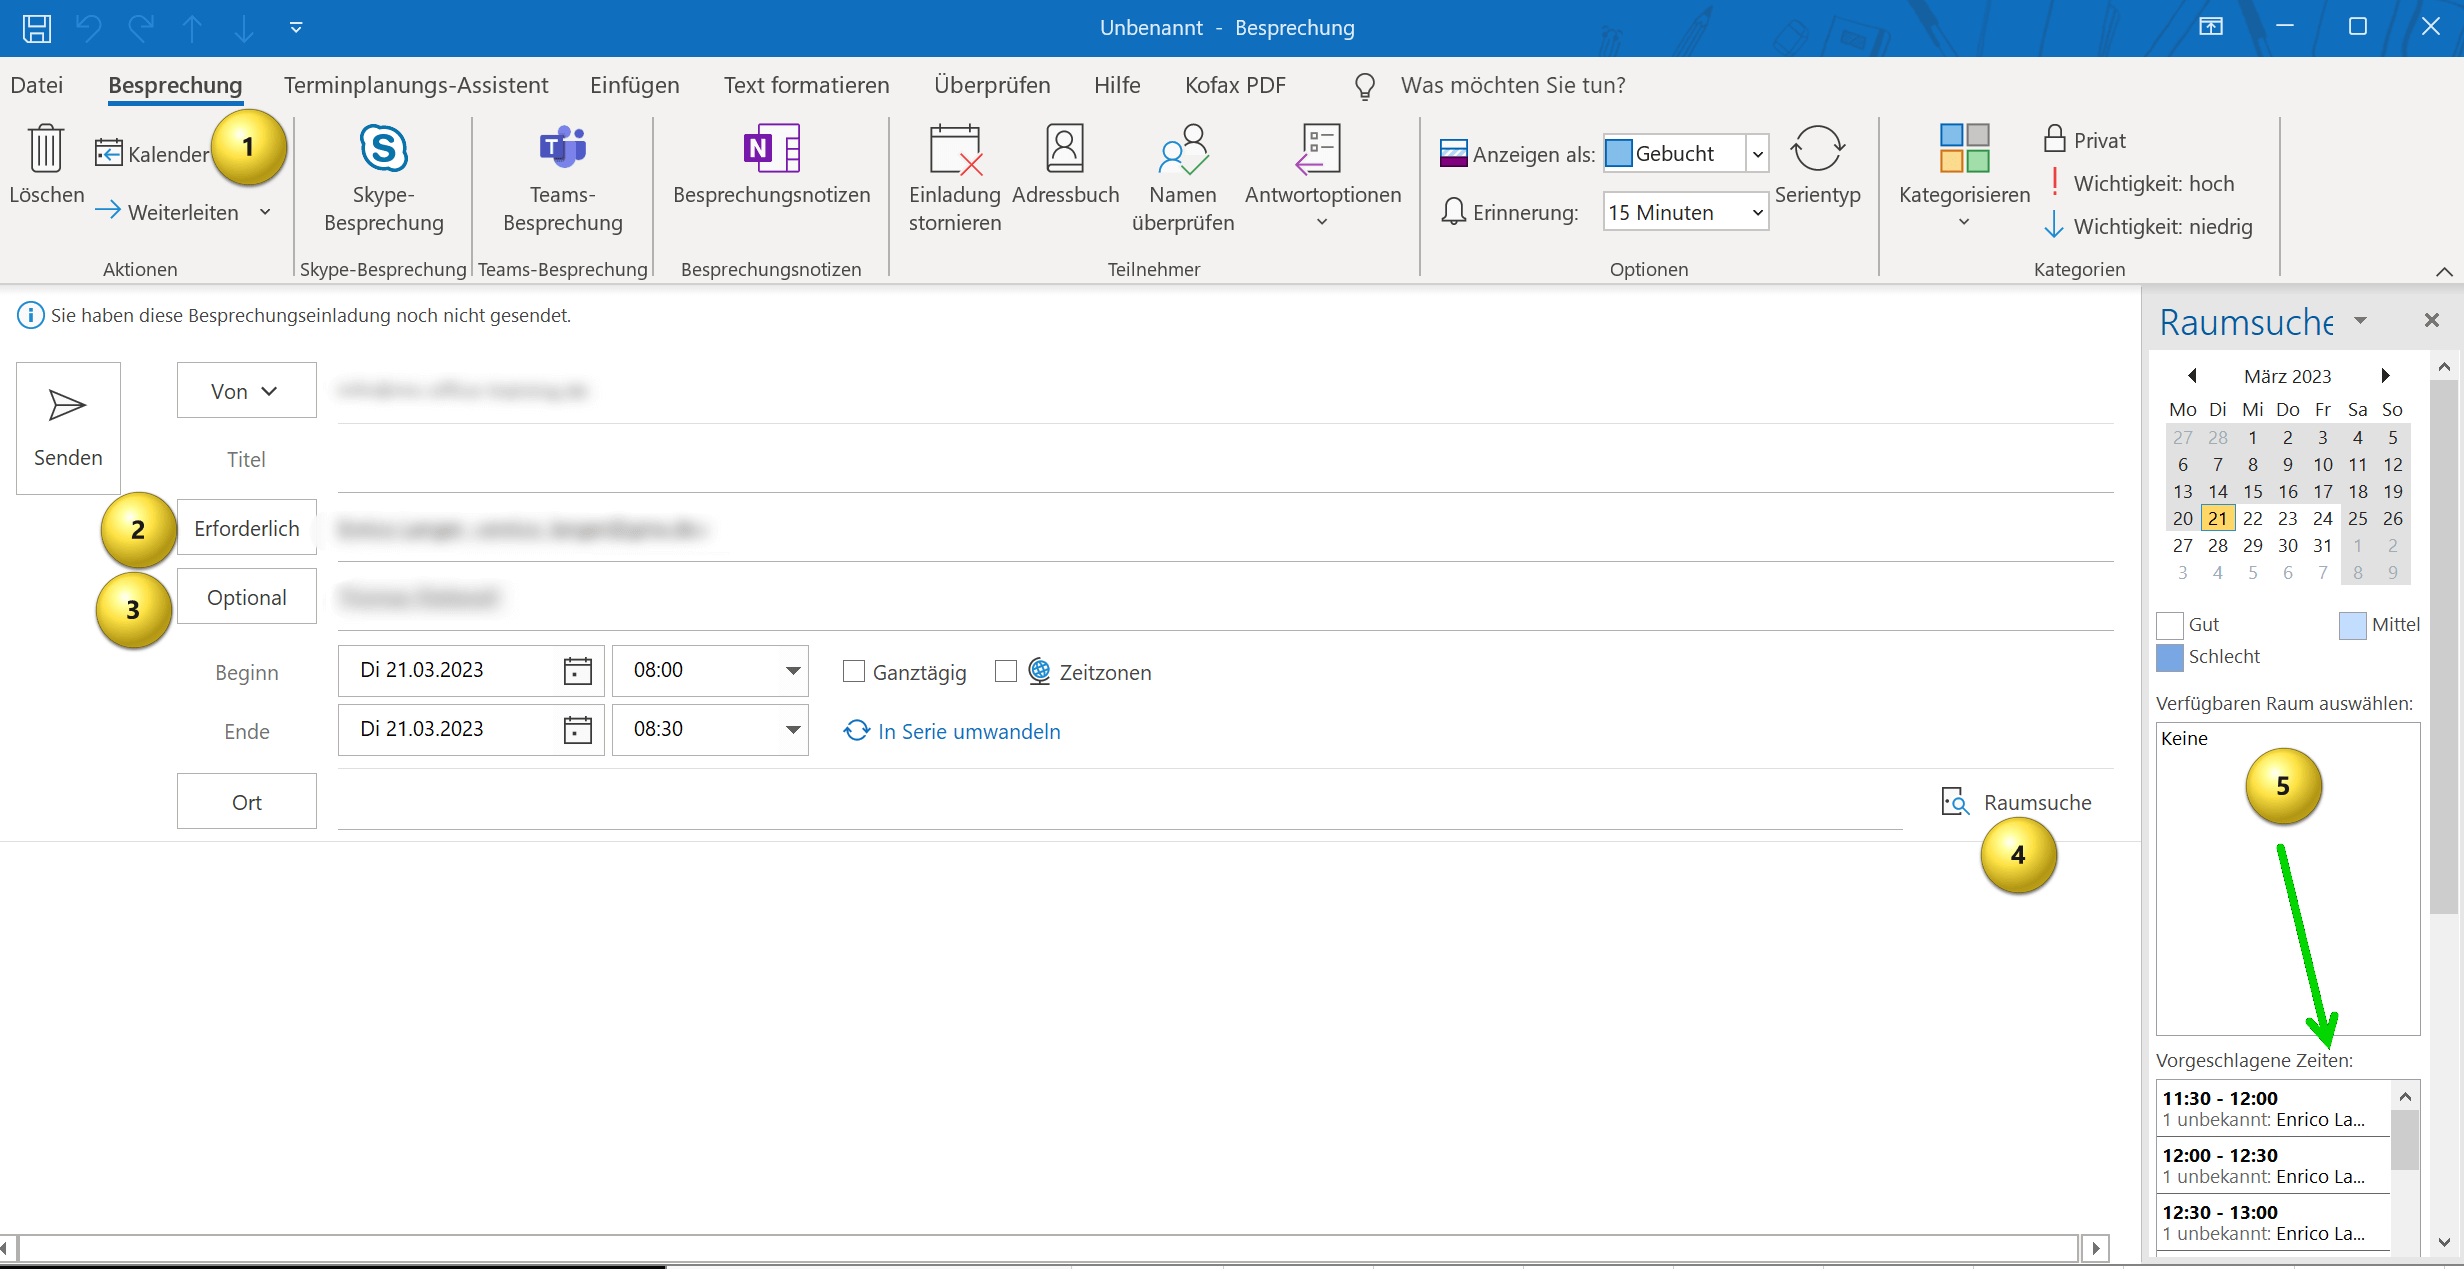

By the way: Since we talked about rooms and resources, it should be added that not only rooms are a resource, but this can also be equipment that may be needed for meetings. So if you need a video projector or other things that are of course not available in unlimited quantities and that everyone in the company has to share, you can also create these in Outlook as a bookable resource and add them to a meeting as “necessary“.
If the available rooms have been entered into the Outlook Exchange server in your company, the persons authorized by the administrator can now book a room as a resource relatively easily. To do this, proceed as follows:
- Open Outlook and go to your calendar.
- Click the “New Appointment” or “New Meeting” button to create a new appointment.
- In the Subject field, enter the name of the meeting or appointment.
- Click on the “Location” field or go to “Room Search” and select the desired “Room“.
- Select the start date and time for your appointment.
- Select the end date and time for your appointment.
- If necessary, enter a description for the meeting or appointment.
- Then add the “necessary” and, if necessary, “optional” participants for the meeting.
- Click “Send” to complete your booking request.
see fig. (click to enlarge)
By the way: Since we talked about rooms and resources, it should be added that not only rooms are a resource, but this can also be equipment that may be needed for meetings. So if you need a video projector or other things that are of course not available in unlimited quantities and that everyone in the company has to share, you can also create these in Outlook as a bookable resource and add them to a meeting as “necessary“.
Popular Posts:

Wi-Fi 7 vs. Wi-Fi 6: A quantum leap for your home network?
Wi-Fi 7 is here! Learn all about its advantages over Wi-Fi 6: extreme speed, minimal latency, and MLO. We'll explain who should upgrade now and what you can do with your ISP router. Your guide to the Wi-Fi of the future.

Microsoft 365 Copilot in practice: Your guide to the new everyday work routine
What can Microsoft 365 Copilot really do? 🤖 We'll show you in a practical way how the AI assistant revolutionizes your daily work in Word, Excel & Teams. From a blank page to a finished presentation in minutes! The ultimate practical guide for the new workday. #Copilot #Microsoft365 #AI

EU chat control: The battle between protection and privacy
The EU's chat control measures aim to scan private messages on WhatsApp and similar platforms. Critics see this as mass surveillance. Following massive resistance, including from Germany, the crucial vote in the EU Council has been postponed again. The fight for digital privacy continues.

Safe at Home: The Ultimate Guide to Your PC and Your Wi-Fi
Is your home Wi-Fi really secure? 🏠 From router passwords to phishing protection – our ultimate security guide will make life difficult for hackers. Secure your PC and home network now with our simple and easy-to-understand tips! #Cybersecurity #HomeNetwork

Integrate and use ChatGPT in Excel – is that possible?
ChatGPT is more than just a simple chatbot. Learn how it can revolutionize how you work with Excel by translating formulas, creating VBA macros, and even promising future integration with Office.

Create Out of Office Notice in Outlook
To create an Out of Office message in Microsoft Outlook - Office 365, and start relaxing on vacation
Offers 2024: Word & Excel Templates


Popular Posts:
Wi-Fi 7 vs. Wi-Fi 6: A quantum leap for your home network?
Wi-Fi 7 is here! Learn all about its advantages over Wi-Fi 6: extreme speed, minimal latency, and MLO. We'll explain who should upgrade now and what you can do with your ISP router. Your guide to the Wi-Fi of the future.
Microsoft 365 Copilot in practice: Your guide to the new everyday work routine
What can Microsoft 365 Copilot really do? 🤖 We'll show you in a practical way how the AI assistant revolutionizes your daily work in Word, Excel & Teams. From a blank page to a finished presentation in minutes! The ultimate practical guide for the new workday. #Copilot #Microsoft365 #AI
EU chat control: The battle between protection and privacy
The EU's chat control measures aim to scan private messages on WhatsApp and similar platforms. Critics see this as mass surveillance. Following massive resistance, including from Germany, the crucial vote in the EU Council has been postponed again. The fight for digital privacy continues.
Safe at Home: The Ultimate Guide to Your PC and Your Wi-Fi
Is your home Wi-Fi really secure? 🏠 From router passwords to phishing protection – our ultimate security guide will make life difficult for hackers. Secure your PC and home network now with our simple and easy-to-understand tips! #Cybersecurity #HomeNetwork
Integrate and use ChatGPT in Excel – is that possible?
ChatGPT is more than just a simple chatbot. Learn how it can revolutionize how you work with Excel by translating formulas, creating VBA macros, and even promising future integration with Office.
Create Out of Office Notice in Outlook
To create an Out of Office message in Microsoft Outlook - Office 365, and start relaxing on vacation
Offers 2024: Word & Excel Templates