Book a Room in Outlook – Resources and Participants
If you work in a company where there are several teams but only a limited number of rooms for team meetings, planning the available resources is important. So if you want to invite your team to a team meeting in a specific room via Outlook on a fixed date, you should consider that this appointment may overlap with other teams in the room. This can cause embarrassing situations when your troops are standing in front of the room but cannot get in because the room is occupied.
In order to avoid something like this, we want to look at how you can invite participants to a team meeting and how you can also book rooms as resources in Outlook at the same time. This makes the whole thing much clearer and easier to plan for other teams in the company.
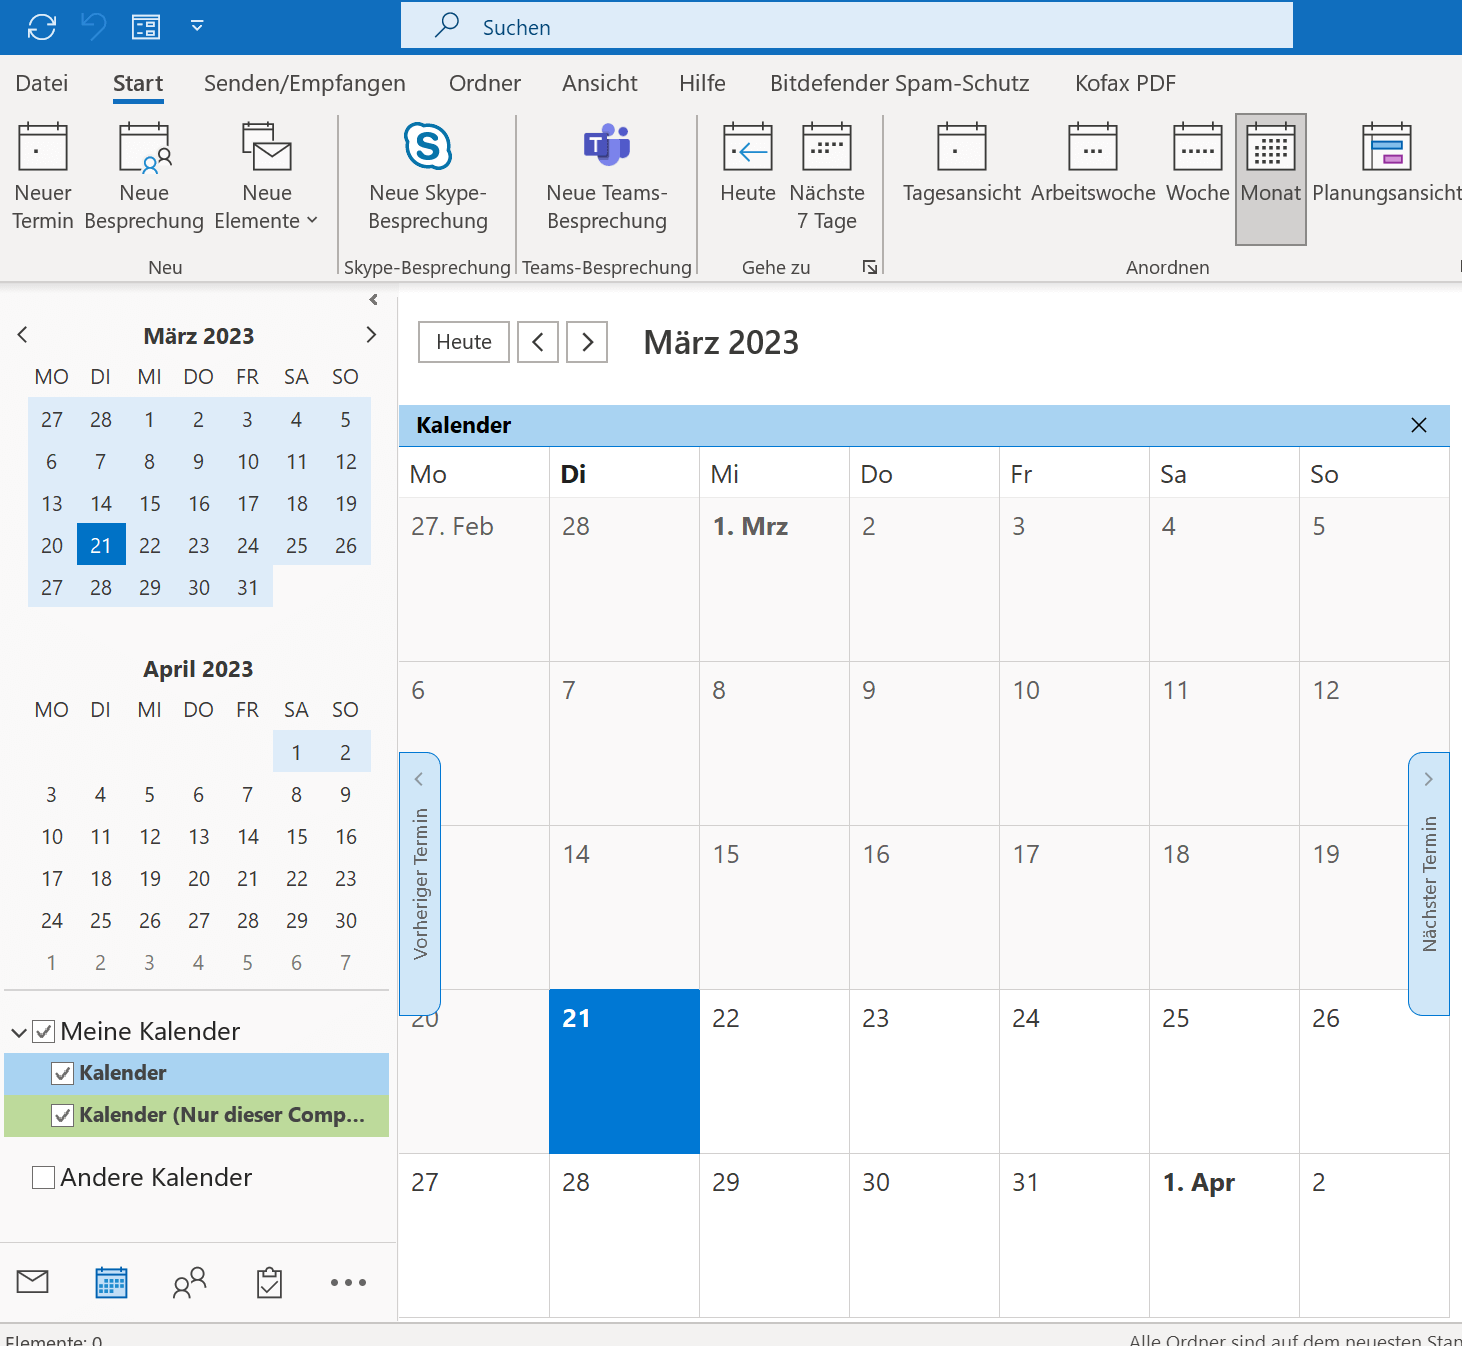
Create room in Outlook
Create room in Outlook
Before you can book a room as a resource in Outlook, Outlook must of course first know that this room exists and that it should be managed in addition to the regular e-mail addresses. To implement this, proceed as follows:
- Open Outlook and click on the “Calendar” menu.
- Click “Start a new meeting” to create a new meeting.
- In the Meeting Options section, click Resources.
- Click on “Rooms” and then on “Add Room“.
- Enter a name for the new room and click “OK“.
- If necessary, enter additional information about the new room, such as the maximum number of participants, the equipment available, etc.
- Click “Save” to create the new room.
Important: Please note that creating rooms in Outlook can normally only be carried out by people with administrator rights on the Exchange server (required). If you do not have administrator rights in your company, please contact your IT support for assistance in creating a new room.
Book rooms and resources in Outlook
Book rooms and resources in Outlook
If the available rooms have been entered into the Outlook Exchange server in your company, the persons authorized by the administrator can now book a room as a resource relatively easily. To do this, proceed as follows:
- Open Outlook and go to your calendar.
- Click the “New Appointment” or “New Meeting” button to create a new appointment.
- In the Subject field, enter the name of the meeting or appointment.
- Click on the “Location” field or go to “Room Search” and select the desired “Room“.
- Select the start date and time for your appointment.
- Select the end date and time for your appointment.
- If necessary, enter a description for the meeting or appointment.
- Then add the “necessary” and, if necessary, “optional” participants for the meeting.
- Click “Send” to complete your booking request.
see fig. (click to enlarge)
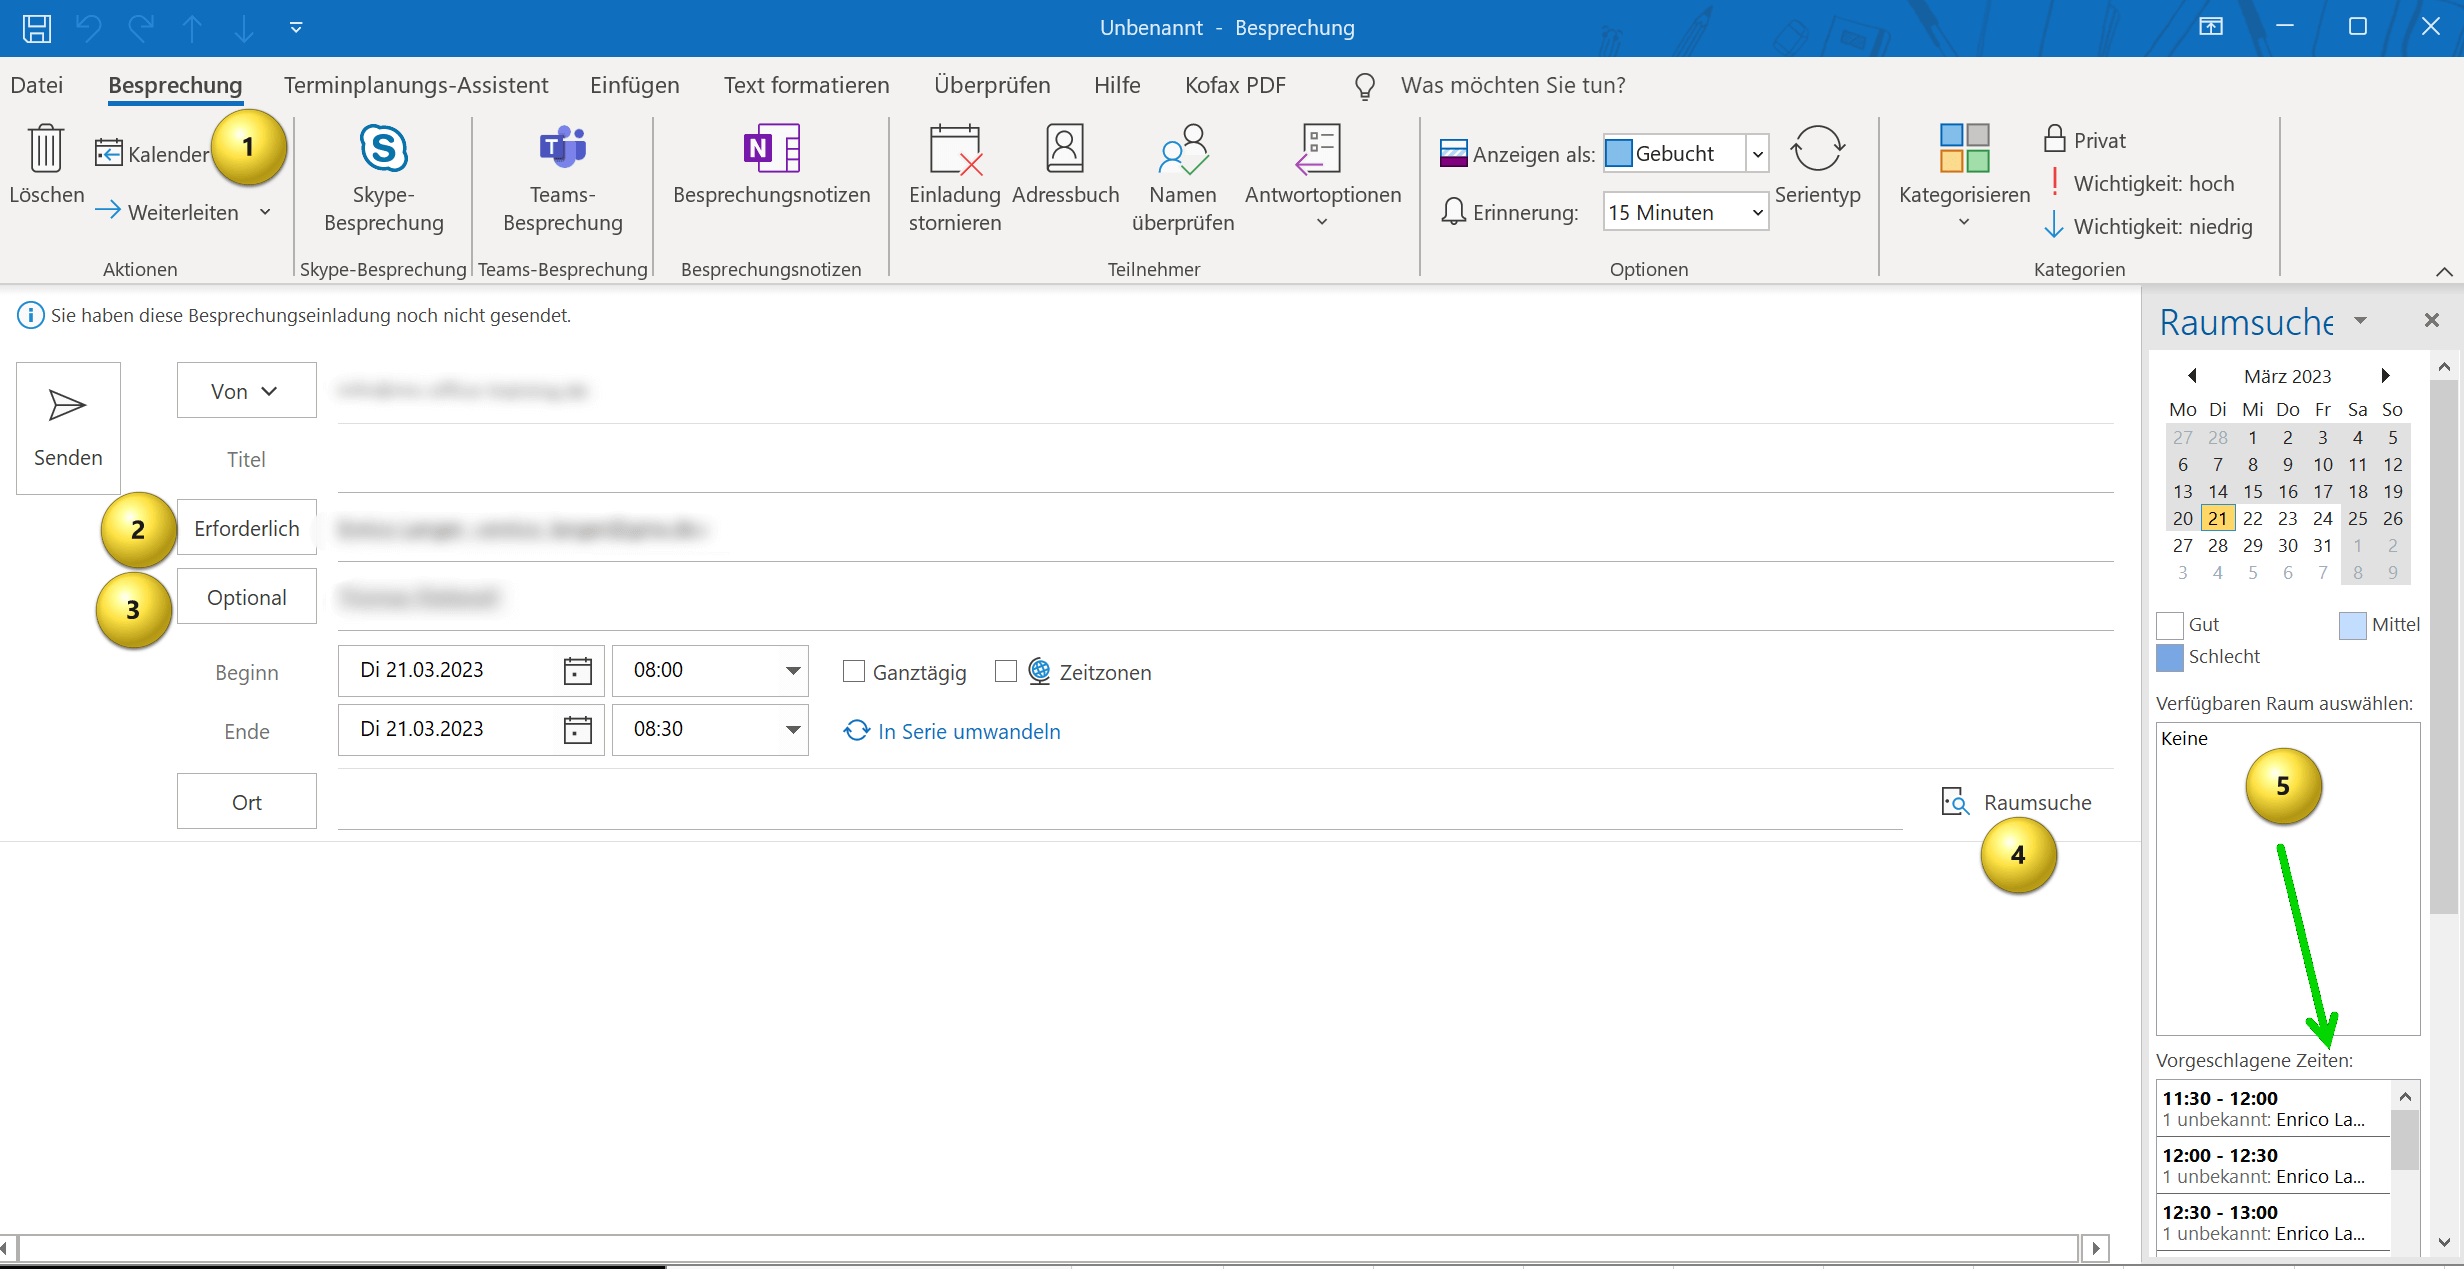

By the way: Since we talked about rooms and resources, it should be added that not only rooms are a resource, but this can also be equipment that may be needed for meetings. So if you need a video projector or other things that are of course not available in unlimited quantities and that everyone in the company has to share, you can also create these in Outlook as a bookable resource and add them to a meeting as “necessary“.
If the available rooms have been entered into the Outlook Exchange server in your company, the persons authorized by the administrator can now book a room as a resource relatively easily. To do this, proceed as follows:
- Open Outlook and go to your calendar.
- Click the “New Appointment” or “New Meeting” button to create a new appointment.
- In the Subject field, enter the name of the meeting or appointment.
- Click on the “Location” field or go to “Room Search” and select the desired “Room“.
- Select the start date and time for your appointment.
- Select the end date and time for your appointment.
- If necessary, enter a description for the meeting or appointment.
- Then add the “necessary” and, if necessary, “optional” participants for the meeting.
- Click “Send” to complete your booking request.
see fig. (click to enlarge)
By the way: Since we talked about rooms and resources, it should be added that not only rooms are a resource, but this can also be equipment that may be needed for meetings. So if you need a video projector or other things that are of course not available in unlimited quantities and that everyone in the company has to share, you can also create these in Outlook as a bookable resource and add them to a meeting as “necessary“.
Popular Posts:

Import Stock Quotes into Excel – Tutorial
Importing stock quotes into Excel is not that difficult. And you can do a lot with it. We show you how to do it directly without Office 365.

Create Excel Budget Book – with Statistics – Tutorial
Create your own Excel budget book with a graphical dashboard, statistics, trends and data cut-off. A lot is possible with pivot tables and pivot charts.
Excel random number generator – With Analysis function
You can create random numbers in Excel using a function. But there are more possibilities with the analysis function in Excel.
Excel Database with Input Form and Search Function
So erstellen Sie eine Datenbank mit Eingabemaske und Suchfunktion OHNE VBA KENNTNISSE in Excel ganz einfach. Durch eine gut versteckte Funktion in Excel geht es recht einfach.

Enable developer tools in Office 365
Unlock developer tools in Excel, Word and Outlook. Expand the possibilities with additional functions in Office 365.
Dictate text in Word and have it typed
Dictating text in Word is much easier and faster than typing everything on the keyboard. Speech recognition in Word works just like external speech recognition software.
Offers 2024: Word & Excel Templates


Popular Posts:
Import Stock Quotes into Excel – Tutorial
Importing stock quotes into Excel is not that difficult. And you can do a lot with it. We show you how to do it directly without Office 365.
Create Excel Budget Book – with Statistics – Tutorial
Create your own Excel budget book with a graphical dashboard, statistics, trends and data cut-off. A lot is possible with pivot tables and pivot charts.
Excel random number generator – With Analysis function
You can create random numbers in Excel using a function. But there are more possibilities with the analysis function in Excel.
Excel Database with Input Form and Search Function
So erstellen Sie eine Datenbank mit Eingabemaske und Suchfunktion OHNE VBA KENNTNISSE in Excel ganz einfach. Durch eine gut versteckte Funktion in Excel geht es recht einfach.
Enable developer tools in Office 365
Unlock developer tools in Excel, Word and Outlook. Expand the possibilities with additional functions in Office 365.
Dictate text in Word and have it typed
Dictating text in Word is much easier and faster than typing everything on the keyboard. Speech recognition in Word works just like external speech recognition software.
Offers 2024: Word & Excel Templates